Free Shipping for orders over €200!

Poster Sizes Guide: Pick the Right Print Size
The common poster sizes include small, medium, large, and extra-large formats; internationally, these correspond roughly to the A-series sizes from A3 to A0. The single rule that decides among them: viewing distance. Close-up reads at 1–3 feet call for small formats; room-distance displays at 3–10 feet need medium; anything viewed from across a room or down a hallway belongs on a large format. Read our poster sizes guide to find the right product for your needs!
Here’s how that maps to real-world uses:
- Bulletin board / counter card (1–3 ft): 11×17 or A3
- Event flyer / retail display (3–6 ft): 18×24 or A2
- Lobby / window / trade show (6–10 ft): 24×36 or A1
- Movie one-sheet / venue banner (10+ ft): 27×40 or A0
Before you send anything to print, confirm your file resolution matches close-up or wall poster requirements, and ensure you’ve added an appropriate bleed on every edge.
Table of Contents
- What are the most common U.S. poster sizes?
- How do ISO A-series sizes compare to U.S. poster dimensions?
- Movie, concert, and specialty poster sizes explained
- How do you set up a print file correctly?
- How do you choose the right poster size for your project?
- How do standard frames fit common poster sizes?
- Quick reference chart: inches, cm, and pixels at a glance
- How does poster size affect your printing budget?
- Key Takeaways
- Why the “right size” conversation starts in the wrong place
- Drone-themed wall art, already sized for your walls
- Useful sources for printer templates and specs
What are the most common U.S. poster sizes?
Standard poster sizes in the U.S. run from a simple letter-sized sheet all the way up to billboard-scale prints. Poster sizes vary across a range suitable for different uses, from small counter cards to large trade show backdrops, with dimensions qualitatively categorized for respective purposes.
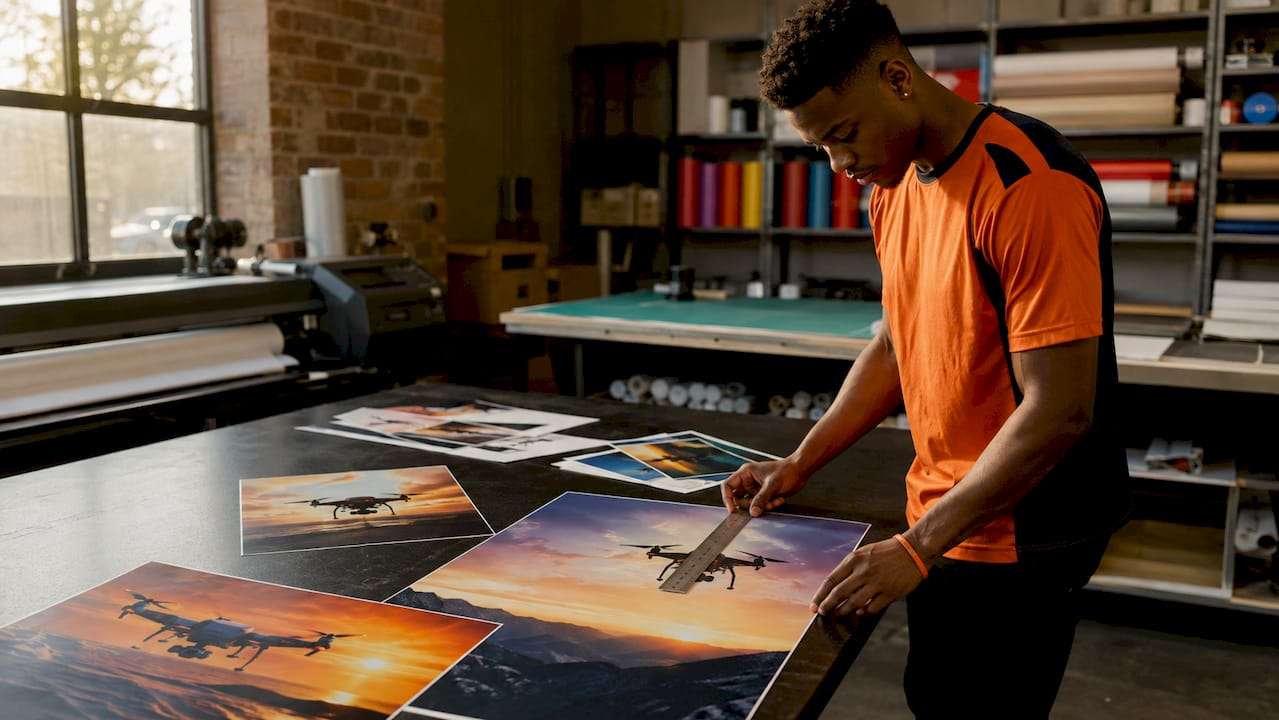
Two commonly used sizes cover most event, retail, and promotional needs, with one handling typical cases and the other suited for larger display areas.
One practical note: printers sometimes label these sizes differently. “Tabloid” and “ledger” refer to 11×17 and 17×22 paper stock, not finished poster dimensions. Always confirm the printer’s template before you finalize your canvas size, since a mislabeled template can shift your design by a quarter inch or more.
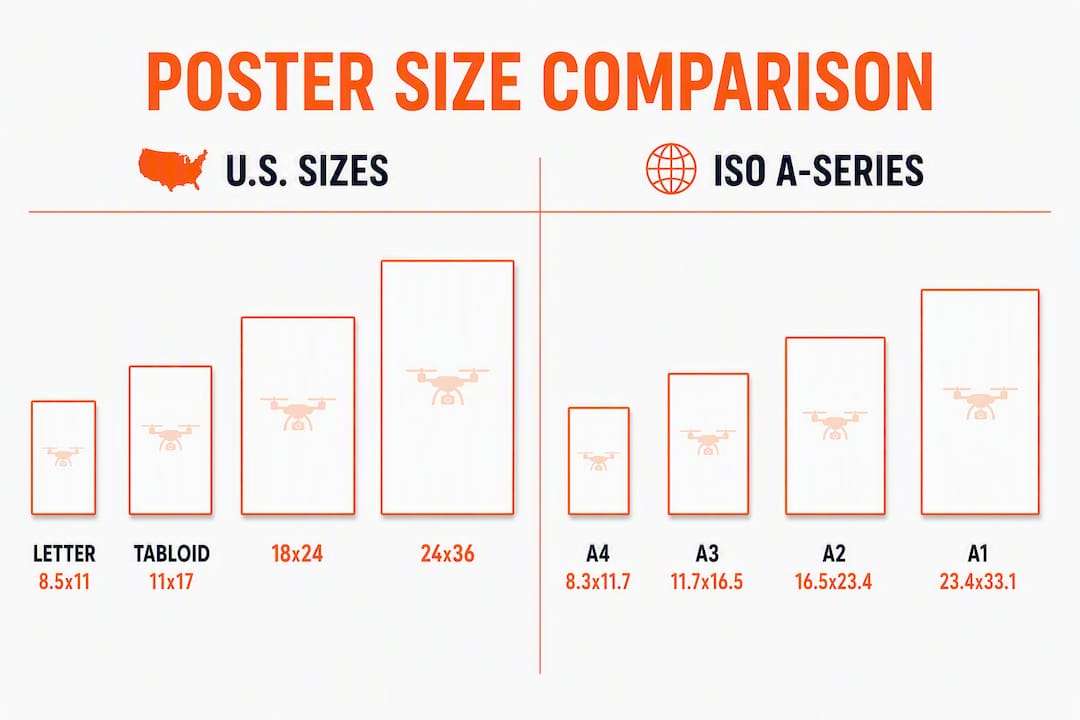
Poster sizes guide: infographic comparing U.S. and ISO poster sizes
How do ISO A-series sizes compare to U.S. poster dimensions?
The A-series is the international standard defined by ISO 216, and it works on a simple halving principle: each size is exactly half the area of the one above it. Fold an A1 in half and you get A2. Fold again and you get A3. That consistency makes scaling between sizes lossless, which is why exhibition printers and trade show vendors worldwide default to A-series.
| A-size | mm | Inches (approx.) | Best use |
|---|---|---|---|
| A0 | — | 33.1 × 46.8 | Exhibition backdrops, large displays |
| A1 | — | 33.1 | Lobby posters, trade show panels |
| A2 | 420 × 594 | 16.5 | Everyday posters, event signage |
| A3 | — | 16.5 | Bulletin boards, small flyers |
| A4 | — | — | Handouts, counter cards |
| A5 | — | — | Inserts, mini-flyers |
A2 is the international everyday poster, filling the same role that 18×24 fills in the U.S. They feel similar in scale, but they are not identical: A2 measures 16.54×23.39 in (420×594 mm), while 18×24 in is 457×610 mm. That 1.5-inch difference in width matters when you’re matching a file to a printer’s template. If your printer is U.S.-based, use inch sizes. If you’re ordering from a European or international vendor, confirm whether they want A-series or custom inch dimensions before you export.
Pro Tip: Design at the A-series size from the start if you plan to print internationally. Scaling a U.S. inch file to A-series introduces small aspect-ratio mismatches that can clip edges or add unwanted white borders.
Movie, concert, and specialty poster sizes explained
Specialty formats exist because specific industries developed them for specific display environments. Knowing which one fits your situation saves you from ordering a print that doesn’t fit the display frame or the venue’s standard slot.
- 27×40 in (movie one-sheet): The U.S. cinema standard. Theater display cases are built to this exact size, so any deviation means the poster won’t seat properly. Canva’s poster size reference lists this alongside 40×60 as the two dominant large-format options for cinema and venue use.
- 28×40 in: A common concert and gig poster size, slightly wider than the one-sheet. Street-level poster kiosks and venue lobbies often use this format.
- 30×40 in (approx.): Used for exhibition prints and large retail window displays. Not a strict standard, so always confirm with the venue or printer.
- A0 (33.1×46.8 in): The international exhibition standard. Trade show booth backdrops, gallery displays, and large-format retail installations frequently specify A0 because it fits standard roller banner hardware.
- 36×48 in and larger: Custom outdoor formats for building wraps, street banners, and large-scale event signage. These are almost always printed at 100 DPI or lower because viewing distance is 15+ feet.
Specialty sizes almost always cost more per unit than standard sizes, and many online print services don’t stock them as ready-to-go templates. Confirm the printer’s template and bleed requirements before designing, since a custom-size file submitted without the correct bleed will either be rejected or trimmed in ways you won’t like.
How do you set up a print file correctly?
Getting the file right before you hit “submit” is where most print mistakes happen. Here’s what actually matters.
DPI and pixel dimensions
Resolution needs match the viewing distance, not a single universal rule. Print providers consistently recommend 300 DPI for close-up prints, around 150 DPI for typical wall posters, and 100 DPI or lower for very large displays viewed from 15+ feet away. Using 300 DPI on a 36×48 in file creates a massive, slow-to-process file with no visible quality gain.
The pixel math is straightforward: multiply inches by DPI to get pixel dimensions.
For large-format wall posters, 150 DPI is typically sufficient and keeps file sizes manageable without sacrificing visible quality at normal viewing distances.
Bleed, safe area, and color
Add a minimum 0.125 in bleed on all four edges for standard prints. For large-format pieces (24×36 and up), some printers request 0.25 in, so check the template. Keep all critical text and logos at least 0.25 in inside the trim line to avoid anything important being cut off.
For color mode, always export in CMYK for print. RGB files look great on screen but shift noticeably when printed, especially in saturated reds and oranges. Save your final file as a high-quality PDF/X-1a or TIFF with embedded fonts and no compression artifacts.
Pro Tip: For very large posters (24×36 and up), design at 50% scale at 300 DPI, then export at full size. This cuts your working file size dramatically and speeds up the entire production process without any loss in final print quality.
How do you choose the right poster size for your project?
A clear process beats guessing. Work through these steps before you open your design software.
- Measure the display area. Know the exact wall space, frame opening, or display slot dimensions before you pick a canvas size.
- Estimate viewing distance. Where will people stand when they read this? Use the distance rule: 1–3 ft → 11×17; 3–10 ft → 18×24; 10+ ft → 24×36 or larger.
- Check headline legibility. At your expected viewing distance, your headline should be readable without squinting. A general rule: 1 inch of headline type is legible at roughly 10 feet.
- Match content density to size. A small 11×17 poster works best with one strong image and minimal text. A 24×36 can carry more detail, but don’t fill it just because you have the space.
- Factor in budget. Larger prints cost more per unit, and the price scales roughly with square footage.
For placement on walls, gallery and interior design standards recommend centering artwork at about 57–60 inches from the floor and sizing pieces to roughly two-thirds to three-quarters of the furniture width beneath them. A sofa that’s 84 inches wide pairs well with art spanning 50–63 inches across.
Common mistakes to avoid:
- Choosing a size that looks right on your laptop screen but disappears on the actual wall
- Ignoring DPI until the file is already designed at screen resolution
- Forgetting to account for frame overlap when ordering prints you plan to frame
How do standard frames fit common poster sizes?
Most off-the-shelf frames are built around a short list of standard sizes, and your poster dimensions need to match them closely or you’ll end up with custom framing costs.
- 11×17 in posters fit standard 11×17 frames directly; add a mat and the visible image area drops to roughly 10.5×16.5 in.
- 18×24 in posters fit 18×24 frames; with a 2-inch mat, the visible area becomes 14×20 in.
- 24×36 in posters fit 24×36 frames, one of the most widely stocked sizes at frame retailers.
- 27×40 in posters require specialty frames; standard retail options are rare at this size.
Frame overlap is typically 1/8–1/4 in on each edge, so keep critical design elements at least 0.5 in from the print edge if you plan to frame without a mat.
| Poster size (in) | Nearest standard frame | Recommended mat width | Notes |
|---|---|---|---|
| 11 × 17 | 11 × 17 | 1.5–2 in | Widely available |
| 16 × 20 | 16 × 20 | 2–3 in | Common photo frame size |
| 18 × 24 | 18 × 24 | 2–3 in | Standard poster frame |
| 24 × 36 | 24 × 36 | 2–4 in | Widely stocked |
| 27 × 40 | Custom | N/A | Specialty order required |
For full-bleed prints you want to display without a mat, floating mount the print on foam board and use a frame with a rabbet deep enough to accommodate the mount. This keeps the entire image visible and gives the piece a clean, gallery-style finish.
Quick reference chart: inches, cm, and pixels at a glance
Use this table as your go-to reference when setting up files or ordering prints. The two “workhorse” sizes are marked.
| Size (in) | Size (cm) | 300 DPI (px) | 150 DPI (px) | Bleed px @300 DPI | Recommended use |
|---|---|---|---|---|---|
| 11 × 17 | — | — | — | +75 px/edge | Bulletin boards, flyers |
| 16 × 20 | — | — | — | +75 px/edge | Photo prints, small wall art |
| 18 × 24 ⭐ | — | — | — | +75 px/edge | Everyday poster (workhorse) |
| 24 × 36 ⭐ | 61.0 × 91.4 | — | — | +75 px/edge | Large wall poster (workhorse) |
| 27 × 40 | 68.6 × 101.6 | — | — | +75 px/edge | Movie one-sheet, venue |
| A2 | 42.0 × 59.4 | 4961 × 7016 | 2480 × 3508 | +75 px/edge | International everyday poster |
| A1 | 59.4 × 84.1 | 7016 × 9933 | 3508 × 4961 | +75 px/edge | Trade show, lobby display |
The 0.125 in bleed at 300 DPI adds 37.5 pixels per edge, rounded to 75 px for the full bleed addition across the dimension. At 150 DPI, 0.125 in bleed adds approximately 19 px per edge.
How does poster size affect your printing budget?
Size and cost are directly linked because most commercial printers price large-format work by the square foot. A 24×36 in poster has roughly 6 square feet of print area; an 18×24 has only 3 square feet. That’s a meaningful cost difference when you’re ordering in quantity.
A few practical tips for keeping costs in check:
Order the smallest size that works. Run the viewing-distance check first. If your audience will be within 5 feet, an 18×24 delivers the same visual impact as a 24×36 at a fraction of the cost.
Gang print when possible. Many online print services let you combine multiple designs on one sheet. Two 11×17 designs can often be printed on a single 22×34 sheet and cut apart, which cuts per-unit cost significantly.
Use standard sizes. Custom dimensions almost always carry a setup fee. Sticking to the standard sizes in the table above keeps you in the printer’s standard workflow and avoids surcharges.
Consider multiple smaller prints instead of one large one. A gallery wall of three 16×20 prints can cover the same visual area as a single 24×36 and often costs less, especially when you factor in framing. Sizing art to roughly two-thirds of the furniture width beneath it means a grouping of smaller pieces can achieve the same proportional impact as one large print.
Watch for DPI-driven file fees. Some online services charge extra for files that exceed a certain size. Designing at 150 DPI for large-format pieces (24×36 and up) keeps file sizes reasonable and avoids upload issues.
Key Takeaways
Viewing distance is the single most reliable rule for choosing a poster size: match the format to how far away your audience will be, then confirm your file specs before you print.
| Point | Details |
|---|---|
| Size by viewing distance | 1–3 ft → 11×17; 3–10 ft → 18×24; 10+ ft → 24×36 or larger. |
| Two default workhorse sizes | 18×24 and 24×36 cover the majority of event, retail, and wall-art needs. |
| DPI by use case | 300 DPI for close-up prints; 150 DPI is sufficient for wall posters viewed from a distance. |
| Bleed and safe area | Add at least 0.125 in bleed; keep critical content 0.25 in inside the trim line. |
| Photodroneguy wall art | Photodroneguy’s drone-themed wall art is sized to standard frames, so you skip the print-setup process entirely. |
Why the “right size” conversation starts in the wrong place
Most people pick a poster size by eyeballing the wall or copying what they’ve seen before. That’s backwards. The size decision should start with the viewer, not the wall.
The viewing-distance rule isn’t just a technical spec. It’s a communication decision. A 24×36 poster with a bold headline and a single strong image will do more work at 10 feet than a cluttered 36×48 with six competing messages. Bigger doesn’t mean more effective. The posters that actually stop people are the ones where the size, the image scale, and the headline weight are all calibrated to the distance at which someone will first see them.
The same logic applies to wall art at home. A single large print centered at 57–60 inches from the floor, sized to roughly two-thirds of the sofa width beneath it, reads as intentional and confident. Two undersized prints floating on a large wall look like an afterthought.
One thing worth doing before any large print run: proof a crop at 100% zoom on your monitor, or print a test sheet at 50% scale on your home printer. You’ll catch text that’s too small, images that are too soft, and layout decisions that looked fine at thumbnail size but fall apart at full scale. That five-minute check saves a lot of money.
Drone-themed wall art, already sized for your walls
If you’d rather skip the file setup and go straight to a finished print, Photodroneguy has you covered. The drone-themed wall art collection at Photodroneguy features bold, pilot-inspired designs sized to fit standard frames right out of the box. No DPI math, no bleed files, no color mode headaches.
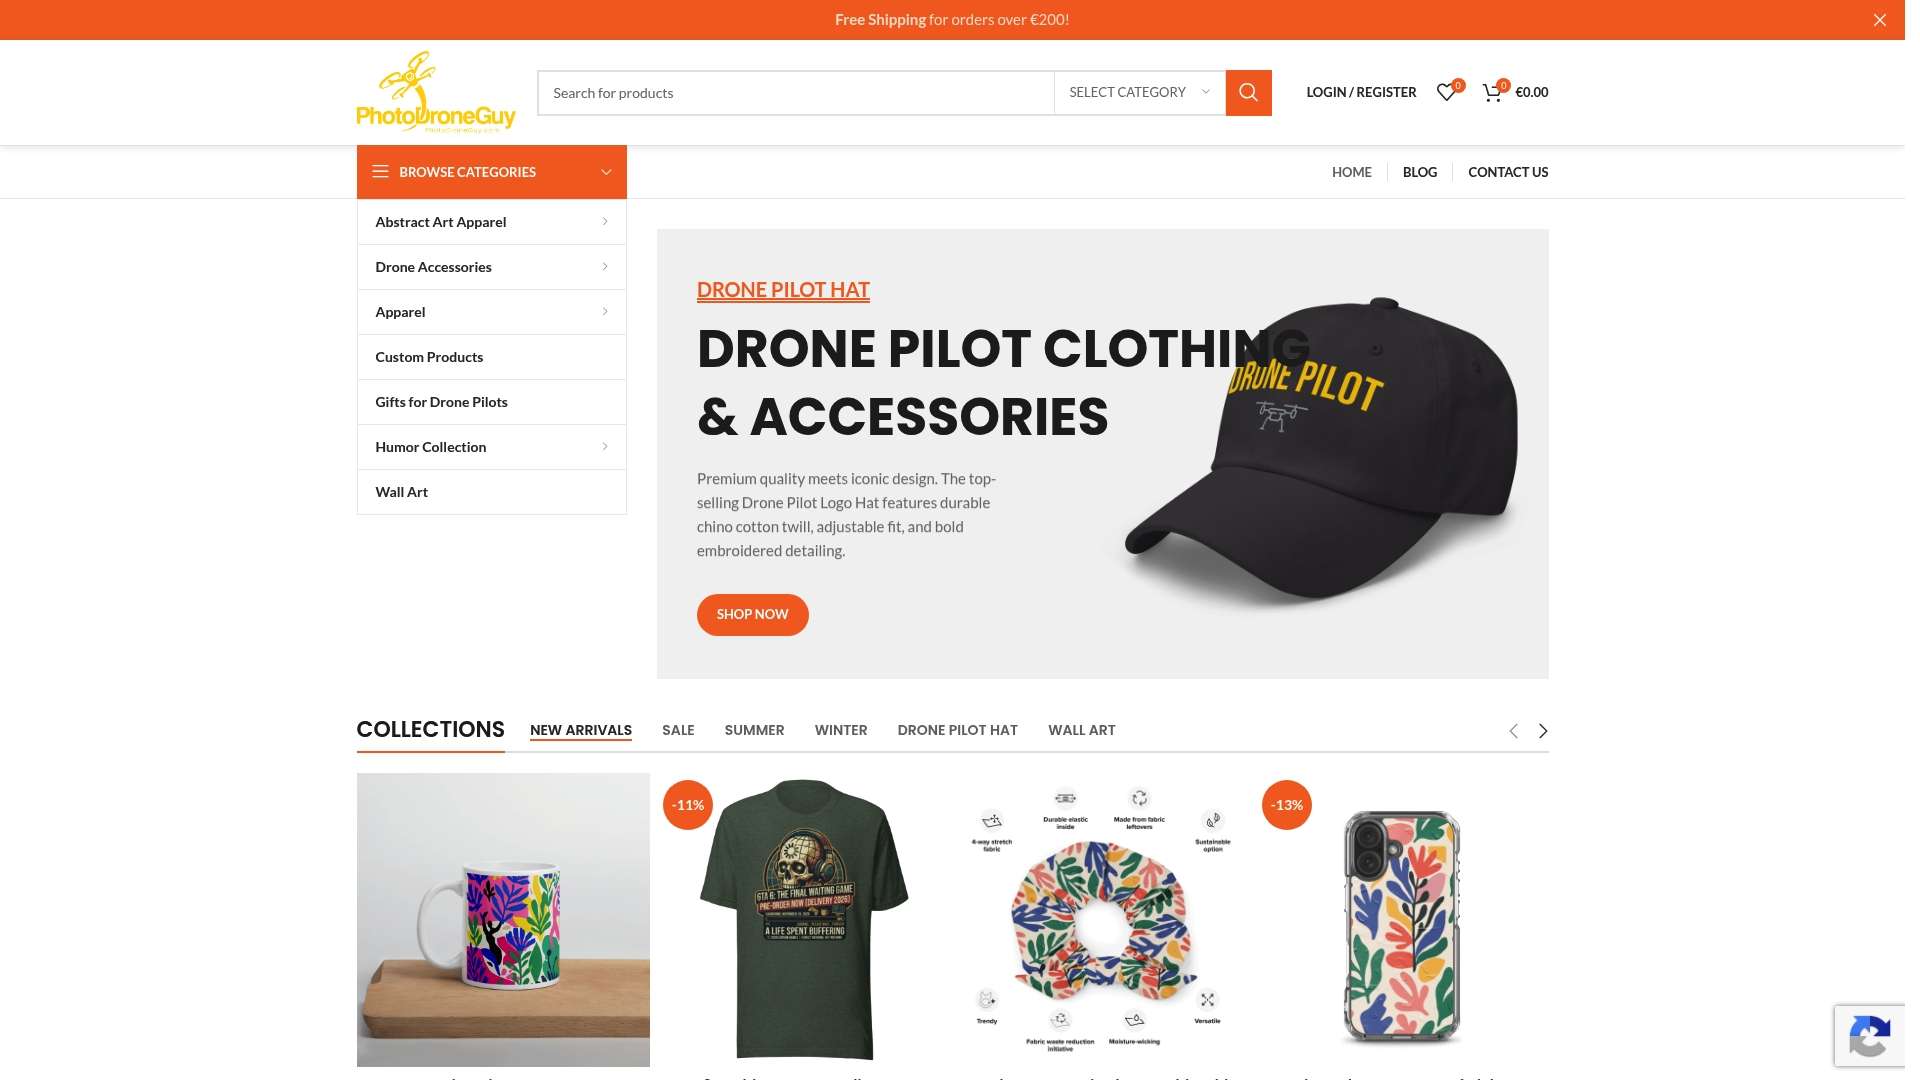
Whether you’re decorating a home office, a flight room, or looking for a gift that any drone enthusiast will actually want on their wall, Photodroneguy’s wall art lands at the intersection of great design and practical sizing. Head to the site, pick your design, and it ships ready to frame.
Useful sources for printer templates and specs
These references are worth bookmarking before you finalize any print order:
- Vistaprint’s poster size guide: — Covers standard U.S. sizes, bleed requirements, and practical guidance on matching size to display location.
- Adobe Express poster size guide: — Documents A-series and U.S. sizes with export workflows, CMYK guidance, and ready-made templates for common formats.
- Uplift Fine Art wall art size guide: — Practical interior sizing rules for hanging height, furniture-width ratios, and framing guidance.
- Minted art sizing guide: — Room-by-room sizing recommendations and mat/frame overlap guidance for finished prints.
Always download the printer’s own template file before you finalize your canvas. Template files include the exact bleed, safe area, and crop mark positions for that printer’s equipment, and they’re the fastest way to avoid a costly reprint.